The Power of Minimalism: A Story of Redesigning Yelp

Excellent article – highly recommended.

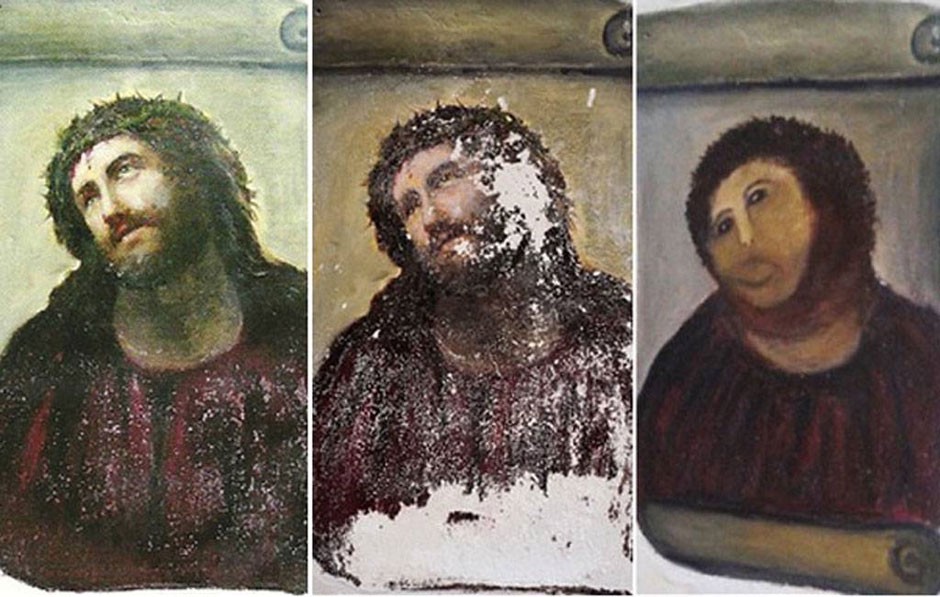
Design by committee is death by a thousand cuts.

It kills slowly, as more and more people weigh in with their opinions, until the “revised” design looks like a stew of lesser parts. It certainly doesn’t need to be that way, especially for large companies like Yelp.

We chose to redesign their site to show how usability testing done properly can unleash the power of just one. Based on our experience as designers at different companies, we found usability testing to be the best defense for design decisions.

When in doubt, let the user stand between you and overbearing stakeholders and the evidence will speak for itself.

redesigning-yelp-jc-repainted


source

Designer’s Toolkit: Road Testing Prototype Tools

So, what tool should I use?

None of these tools will become my go-to tool for all of my prototyping needs. I see valuable aspects of each for different circumstances.

For a fast turnaround
If I need something created in a pinch that doesn’t need to communicate much interactivity, I would use a tool like InVision (or Flinto if it is for an iOS app).

For complex interactions
If I am prototyping a complicated desktop application with a lot of dynamic content or interactivity between elements on a screen, I might try using a more robust tool like Axure, Protoshare or Justinmind, with the understanding that I will need to invest some time to learn how to use it. If I needed to prototype complex interactions for a website design I would use Easel because of how easily you can generate CSS/HTML.

For usability testing
If I need to run usability testing on a click-through prototype and collect a significant amount of feedback, I would try Solidify, which is specifically designed to support user testing.

Although some of these tools have overlapping capabilities, I was surprised to discover that they each offer distinct enough features to be useful in different scenarios. The chart below should help you pick the best tool to try for your particular needs.

(open below image in new tab for larger view)

summaryChart-prototype


source

At 90, She’s Designing Tech For Aging Boomers

In Silicon Valley’s youth-obsessed culture, 40-year-olds get plastic surgery to fit in. But IDEO, the firm that famously developed the first mouse for Apple, has a 90-year-old designer on staff.

Barbara Beskind says her age is an advantage.

“Everybody who ages is going to be their own problem-solver,” she says. And designers are problem-solvers. Beskind speaks while sitting on a couch at the open office space of IDEO in San Francisco. She commutes to the office once a week from a community for older adults where falling is a problem.

“People where I live fall a lot,” she says, adding, “For a friend of mine, I tried to design air bags of graded sizes that would be activated at a lurch of 15 degrees.” She is stumped on how to find the right power source for her air bags.

source

Build a Swift App

Learn Xcode Storyboard, Auto Layout and Designable Views

Swift made code simpler and it quickly became one of the top languages used. Xcode 6 introduced a number of new features such as PlaygroundVector Assets and Designable Views. Ultimately, it made Adaptive Layouts an essential skill because of the iPhone 6 and 6 Plus.

Mobile continues to grow exponentially, raking the majority of the profits for its developers. Apple paid $10 Billion in 2014. Prototyping became one of the most sought-after skills for designers.

swift design


source

Center and crop images with a single line of CSS

It’s simple. Set your image crop dimensions and use this line in your CSS:

img {
    object-fit: cover;
}

That’s it. No need for unsemantic, wrapping divs or any other nonsense.

This technique works great for cropping awkwardly-sized avatar pictures down to squares or circles. Take this wide photo of a bear below for example. Once object-fit: cover is applied to the image and a width and height are set, the photo crops and centers itself.

source

A List Apart: A Vision for Our Sass

One well-documented abuse of Sass’s feature-set is the tendency to heavily nest our CSS selectors. Now don’t get me wrong, nesting is beneficial; it groups code together to make style management easier. However, deep nesting can be problematic.

One option is to create rules that act as limits and reign in some of that power. For example, Mario Ricalde uses an Inception-inspired guideline for nesting: “Don’t go more than four levels deep.”

Rules like this are especially helpful for newcomers, because they provide clear boundaries to work within. But few universal rules exist; the Sass spec is sprawling and growing (as I write this, Sass is at version 3.4.5). With each new release, more features are introduced, and with them more rope with which to hang ourselves. A rule set alone would be ineffective.

source

Compositing And Blending In CSS

The Blend Modes

Okay so we’ve established that each background layer can get its own blend mode which specifies how it blends with the layers beneath it. But what blend mode options do we have?

There are 16 blend modes available in CSS: normal (which is the default blend mode and means that no blending is applied), multiply, screen, overlay, darken, lighten, color-dodge, color-burn, hard-light, soft-light, difference, exclusion, hue, saturation, color and luminosity.

Each filter, when applied to an image, for example, will give a different end result—the colors of the image are going to be changed based on the mode you choose.

Includes a tool to test blend modes:

css blender


source